2021 Vol. 48, No. 11
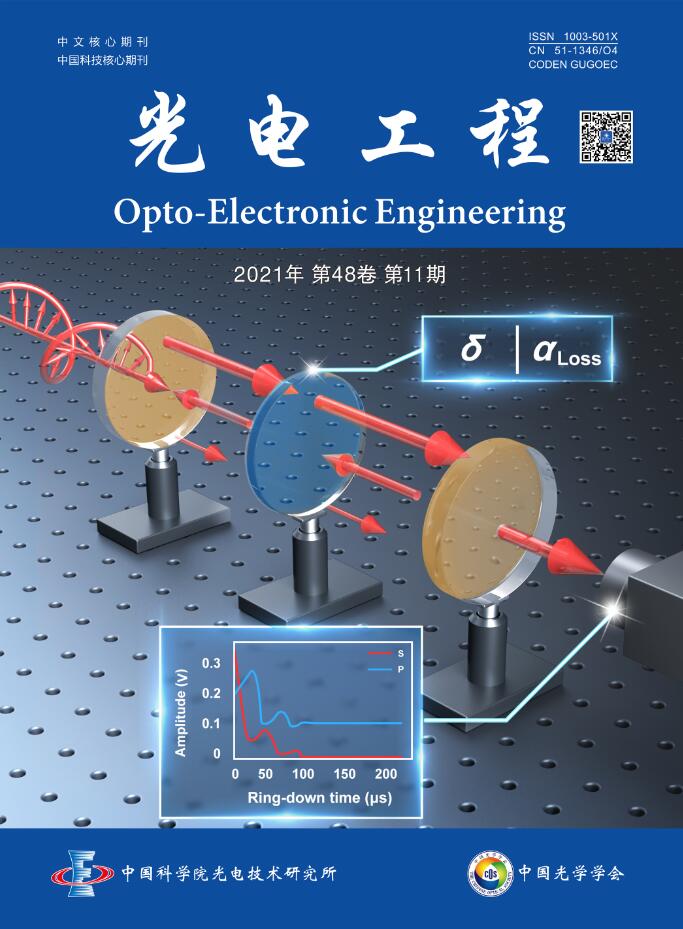
Cover story: Wu M Y, Wang J, Li B C. Polarized cavity ring-down technique for characterization of single-layer SiO2 films[J]. Opto-Electron Eng, 2021, 48(11): 210270.
In the field of optical thin films, SiO2 is the preferred low refractive index material for high performance optical thin films due to its low absorption coefficient, corrosion resistance and high hardness. Residual stress can cause deformation and refractive index anisotropy on the substrate and the surface of optical element. On the other hand, a certain magnitude of residual stress can improve hardness of the film as well as its adhesion to the substrate and thereby prolong the lifetime of the optical element. The measurement of stress birefringence and optical loss in thin films requires a lot of cost and time on different instruments, and the deviation of the measuring position also affects the evaluation of the results. In contrast, polarization cavity ring down technique establishes a strong intrinsic correlation of optical measurement, which can realize simultaneous measurement of thin film stress birefringence and optical loss at the same point with higher measurement precision.
Professor Bincheng Li's research team at the University of Electronic Science and Technology of China has proposed a stress birefringence measurement technique based on optical cavity ring down, which uses ring down time and the phase difference of polarized light accumulated by reflection back and forth in the resonant cavity to further improve the measurement precision of stress birefringence and optical loss of optical elements in the cavity, realizing high-precision simultaneous measurement of stress birefringence and optical loss on the same point. This method measures the decay rate of light intensity and is not affected by fluctuations in the light source, thus providing a method with high measurement precision. In order to explore the influence of deposition angle on the optical loss and stress birefringence of single-layer SiO2 film samples prepared with Ion-Beam Sputtering (IBS) coating technique, three samples with deposition angles of 60°, 70° and 80° were measured with P-CRD. The achieved measurement precisions were less than 3.5 ppm for the optical loss and 5.0×10⁻⁶ rad for the stress birefringence.

-
{{article.year}}, {{article.volume}}({{article.issue}}): {{article.fpage | processPage:article.lpage:6}}. doi: {{article.doi}}{{article.articleStateNameEn}}, Published online {{article.preferredDate | date:'dd MMMM yyyy'}}, doi: {{article.doi}}{{article.articleStateNameEn}}, Accepted Date {{article.acceptedDate | date:'dd MMMM yyyy'}}CSTR: {{article.cstr}}

 E-mail Alert
 RSS
RSS


